Good Morning!
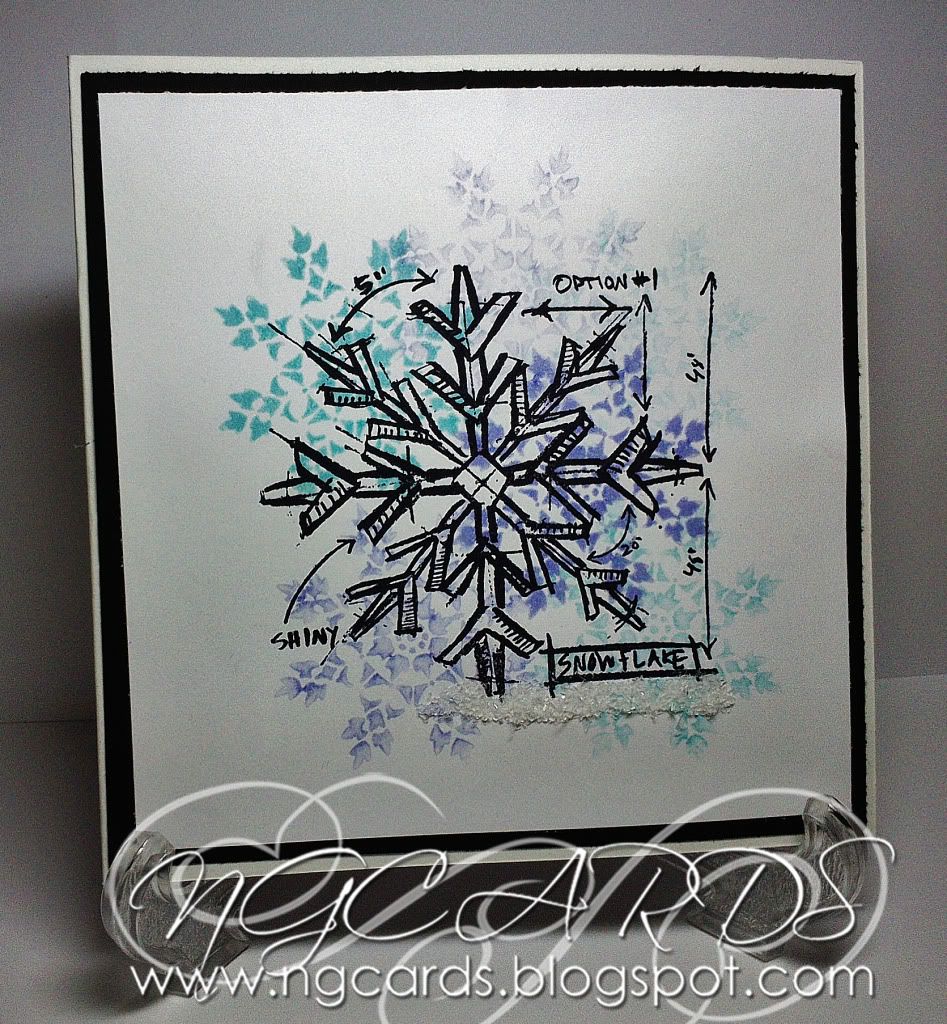
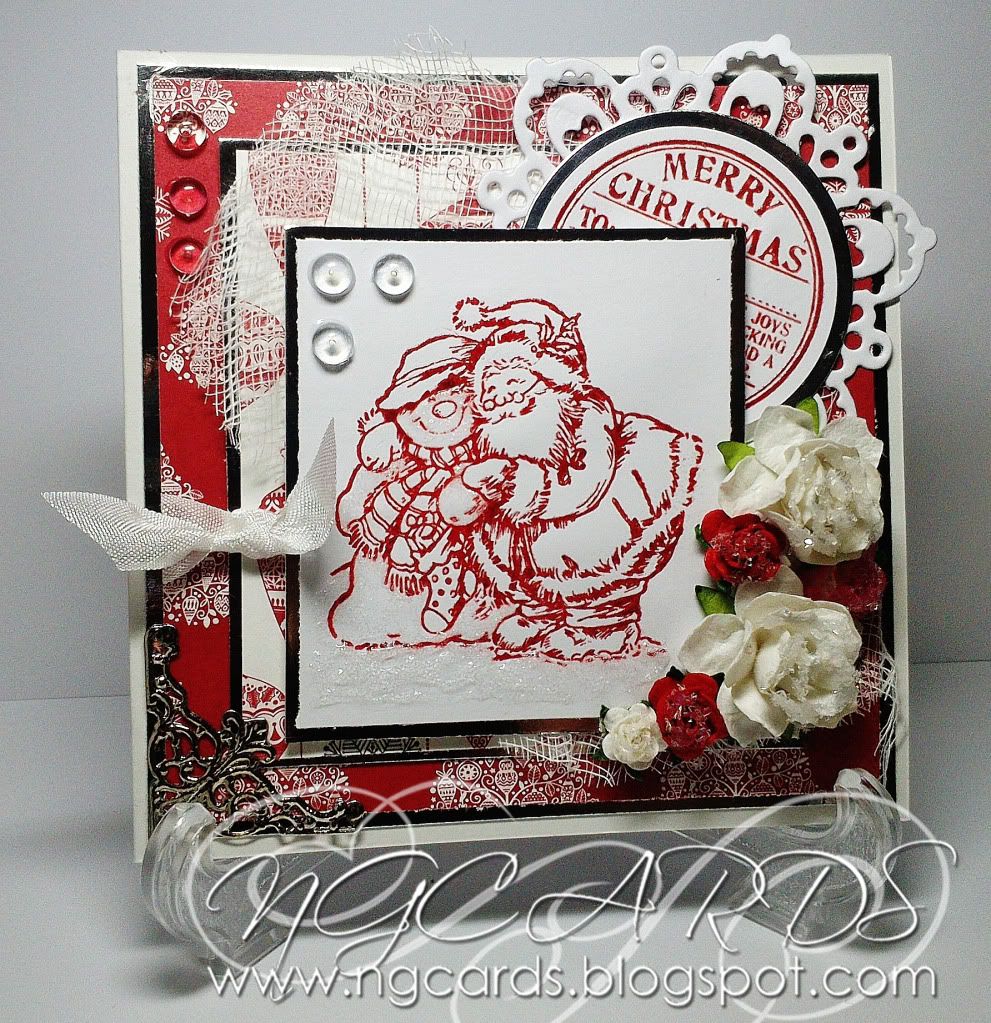
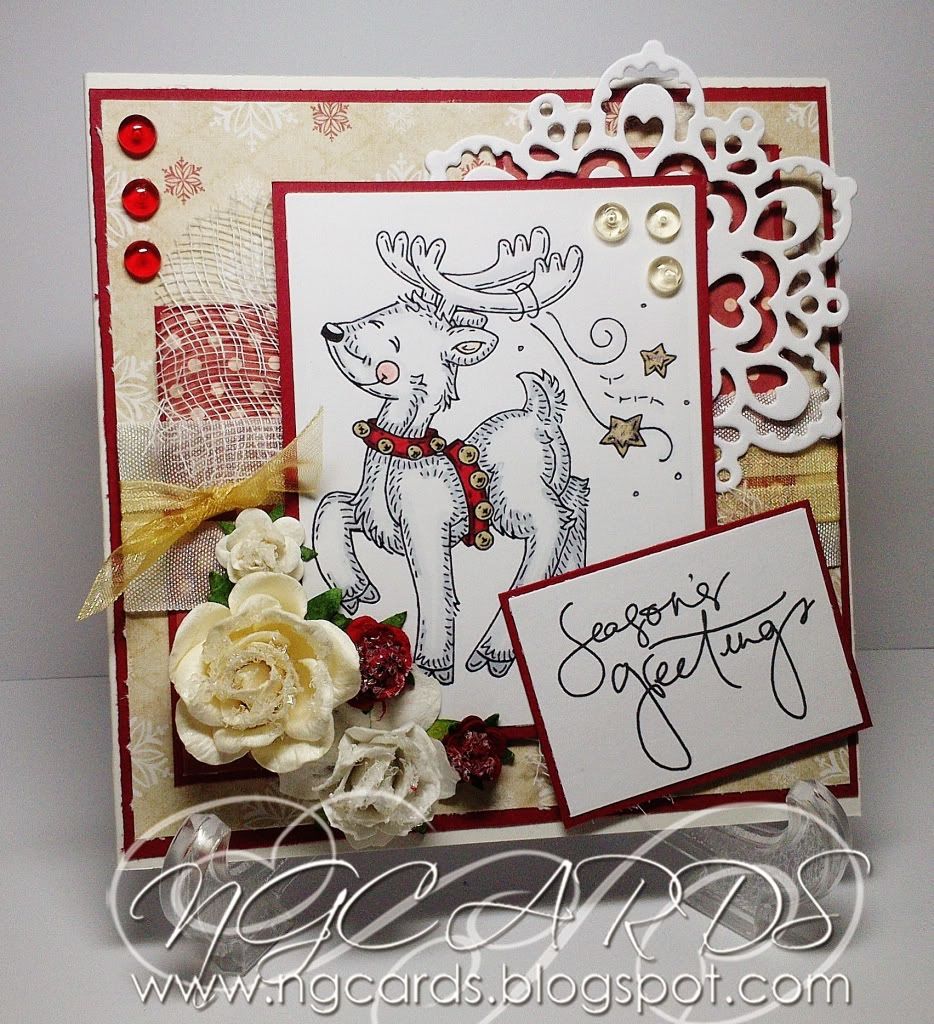
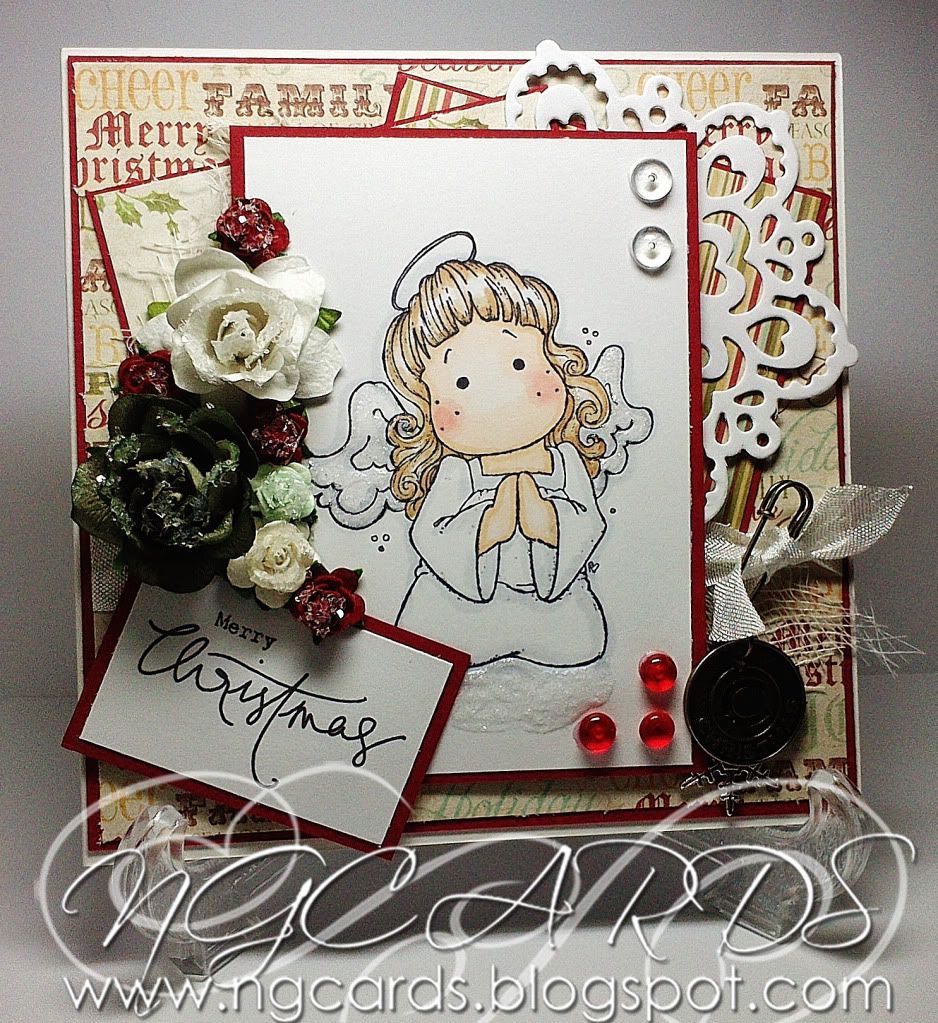
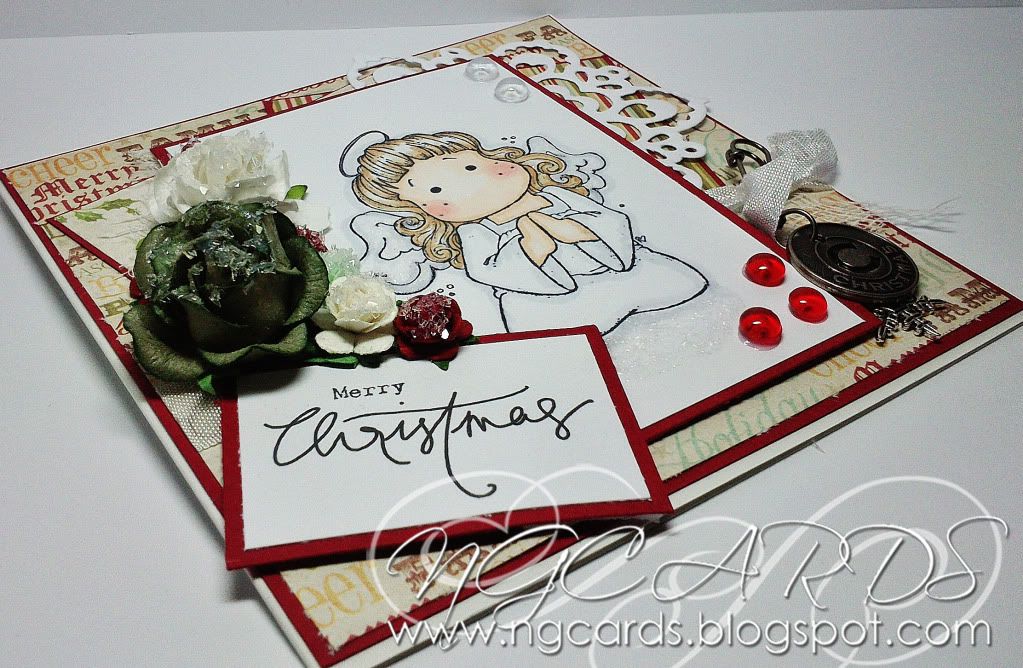
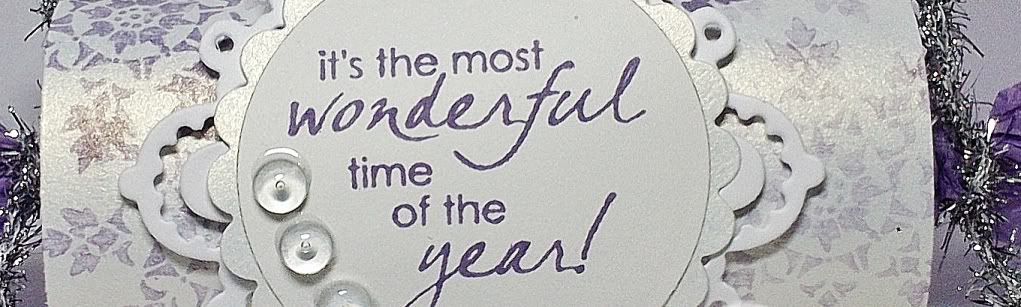
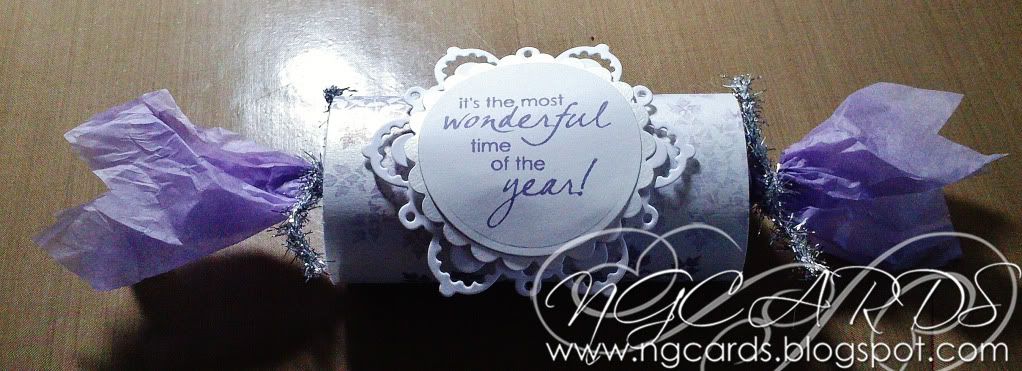
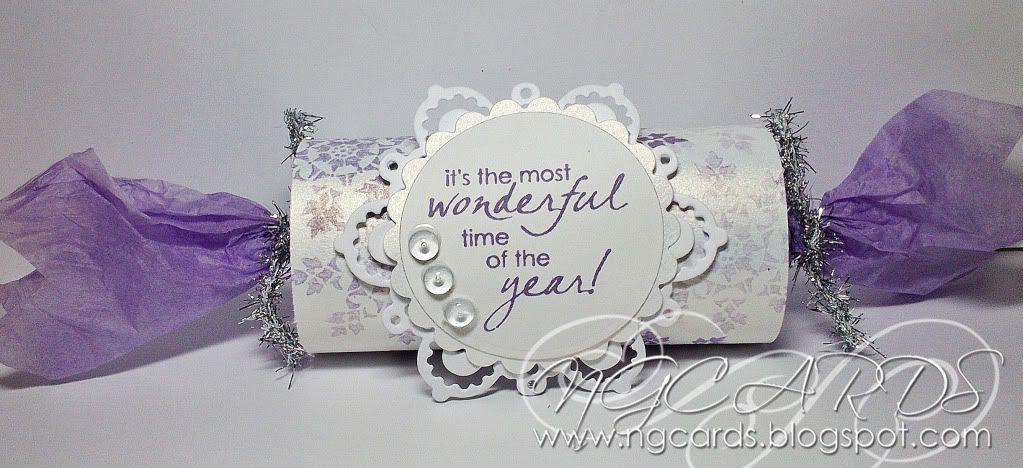
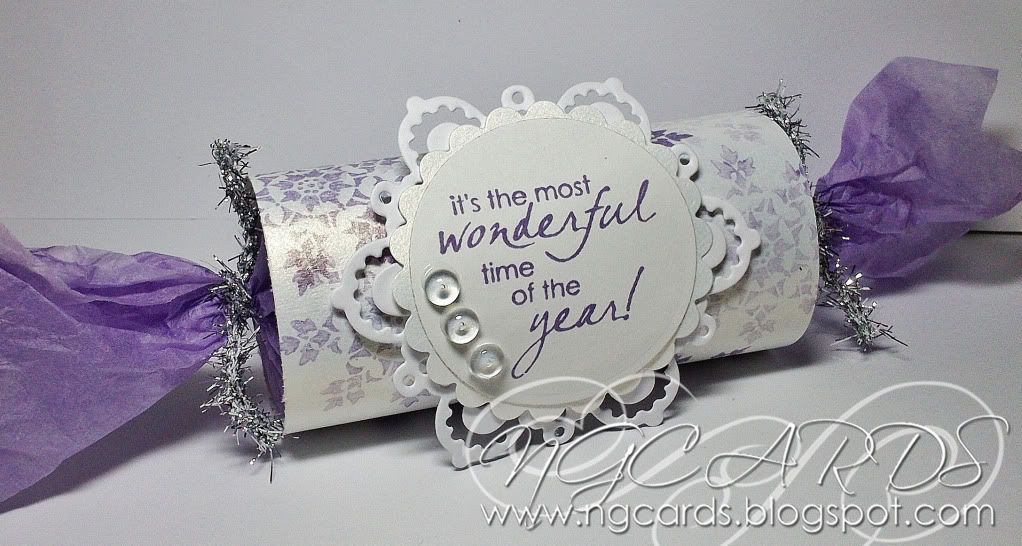
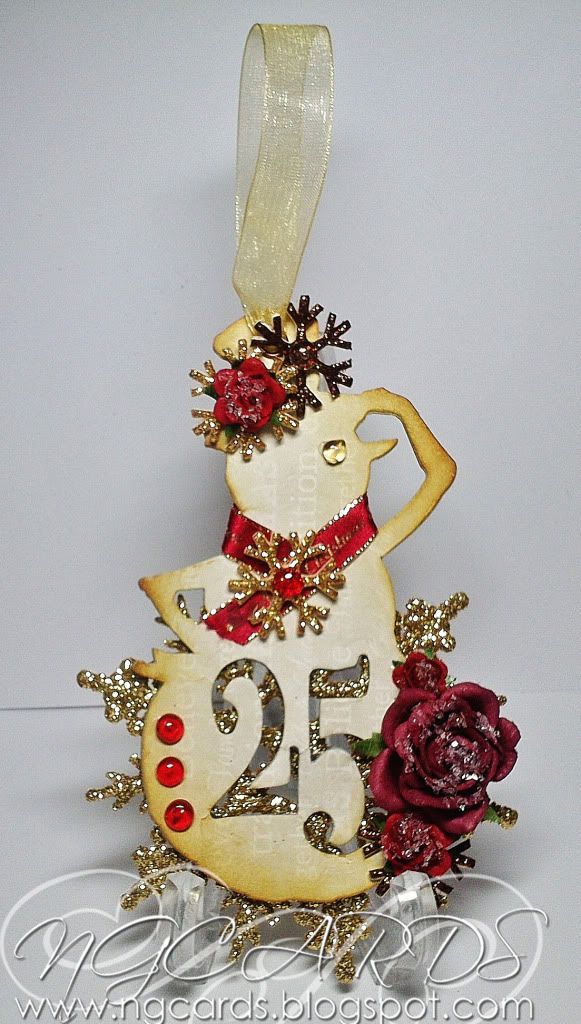
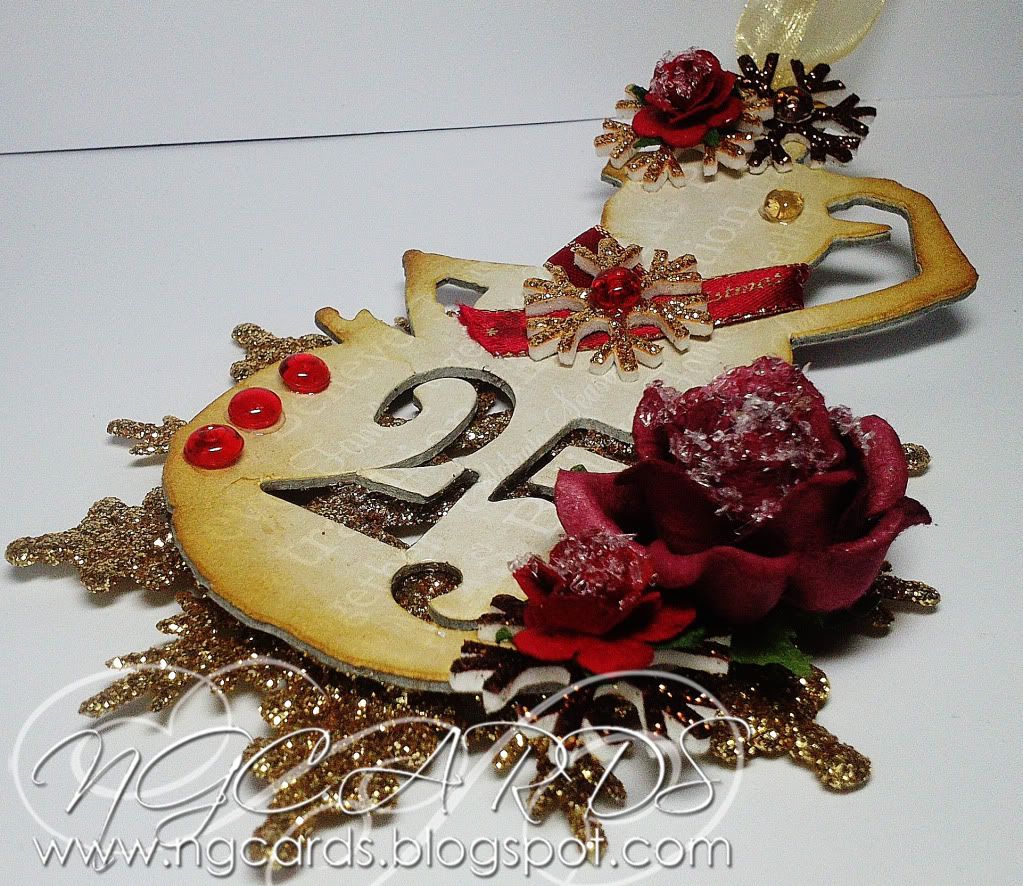
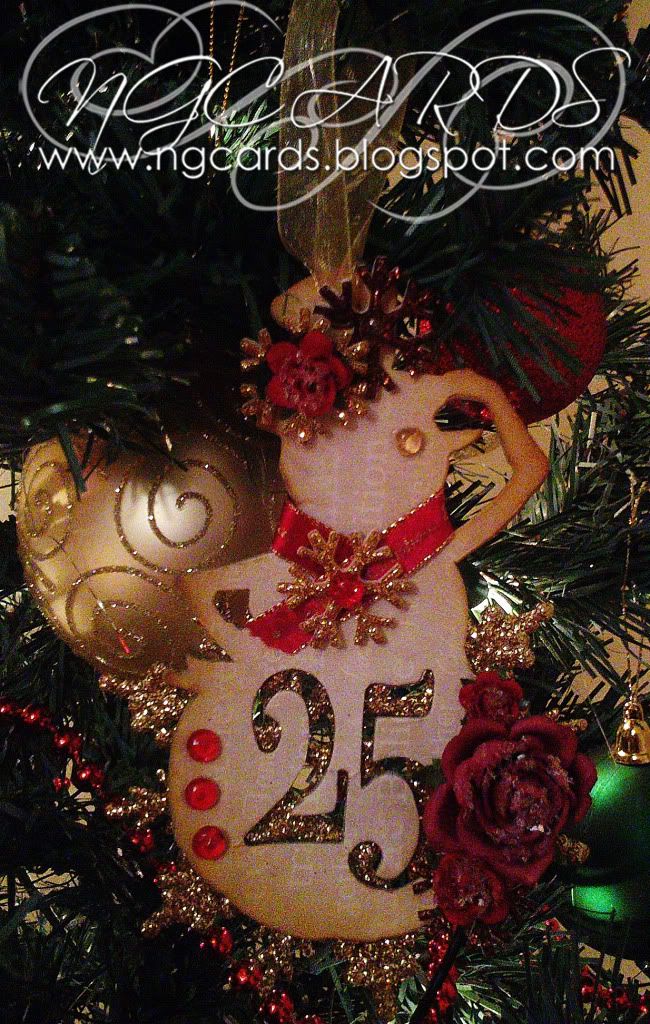
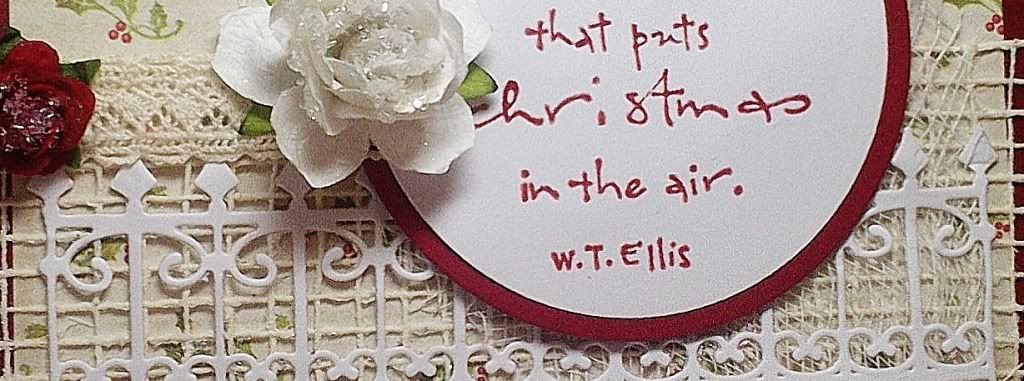
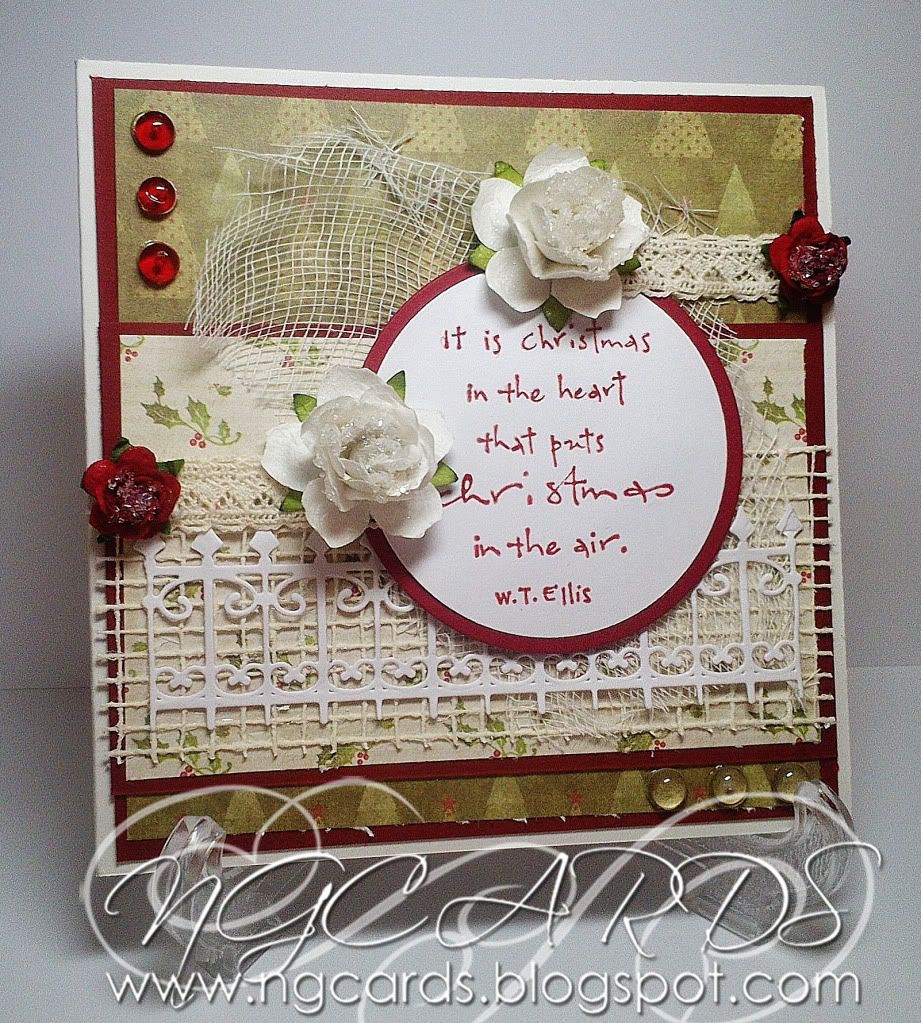
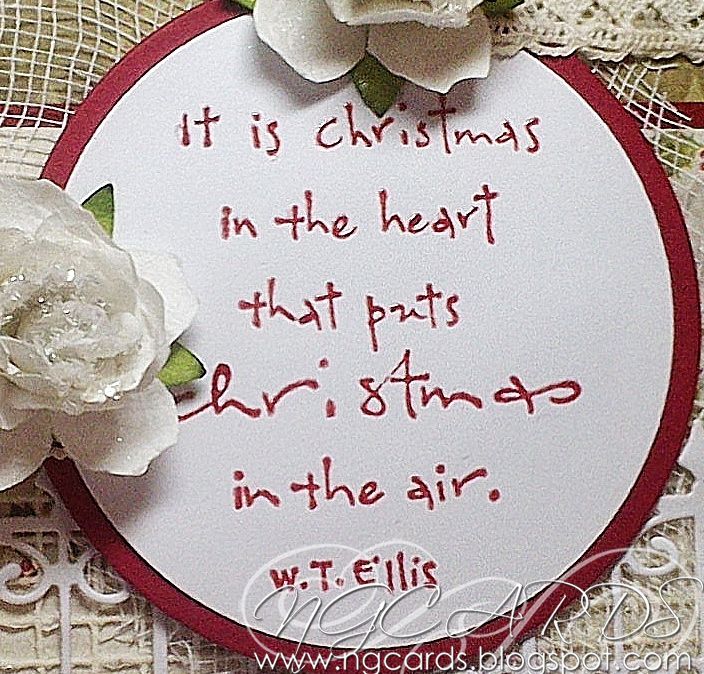
I'm here today to share a card with you using one of the new Spellbinder's 'D-Lites' Dies which is what we are showcasing this week over at the J&C CREATIONS BLOG. These are really versatile to use and are great for embellishing your cards. Of course seeing today is Christmas Eve I had to make another Christmas Card for you all using the die! As usual I added some Embossing Powder, this time Clear, to my sentiment to help it stand out just a little bit more.
INGREDIENTS -
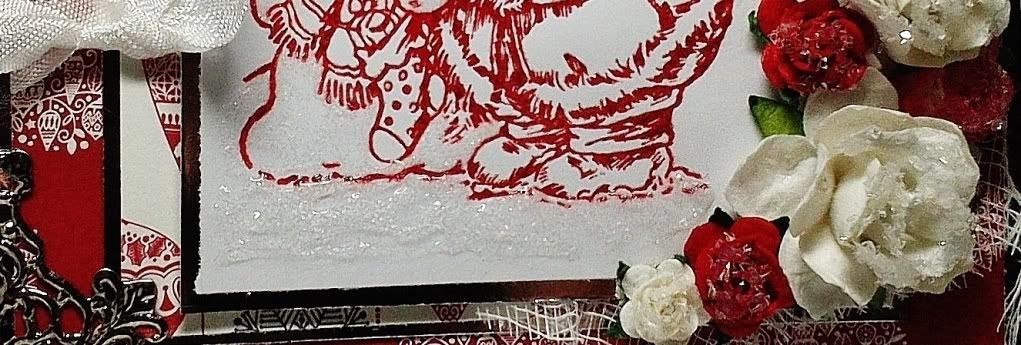
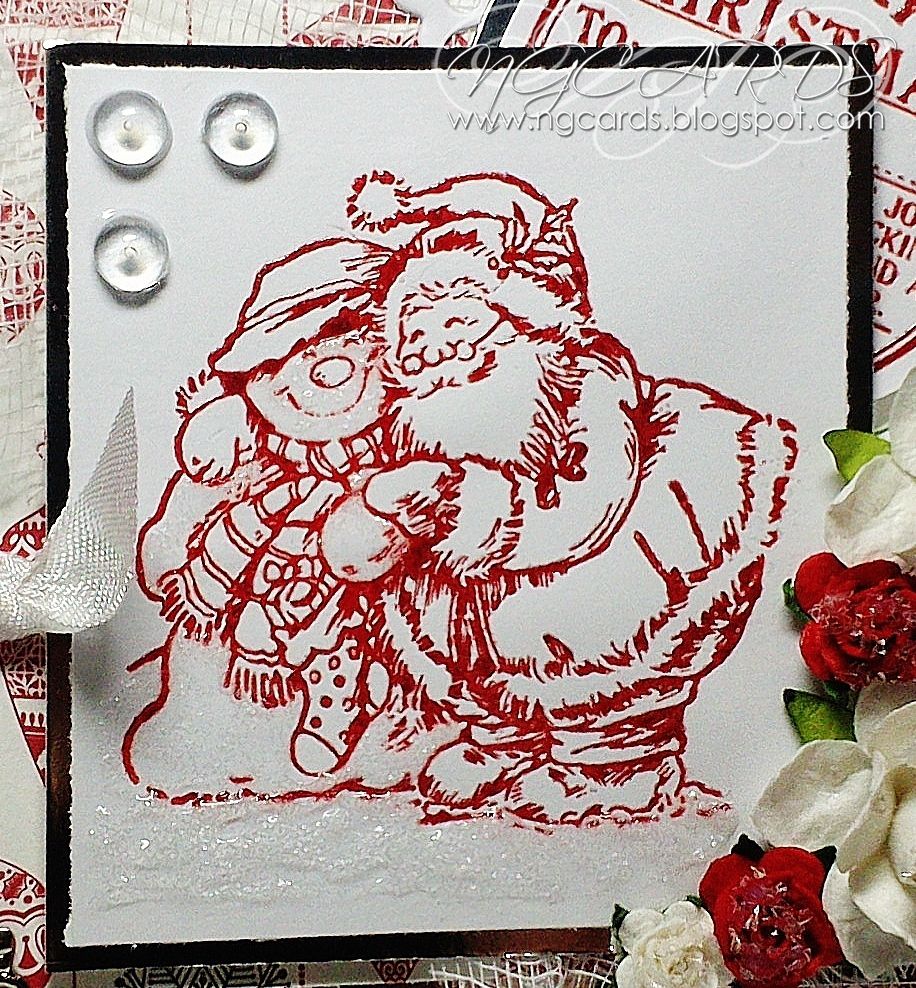
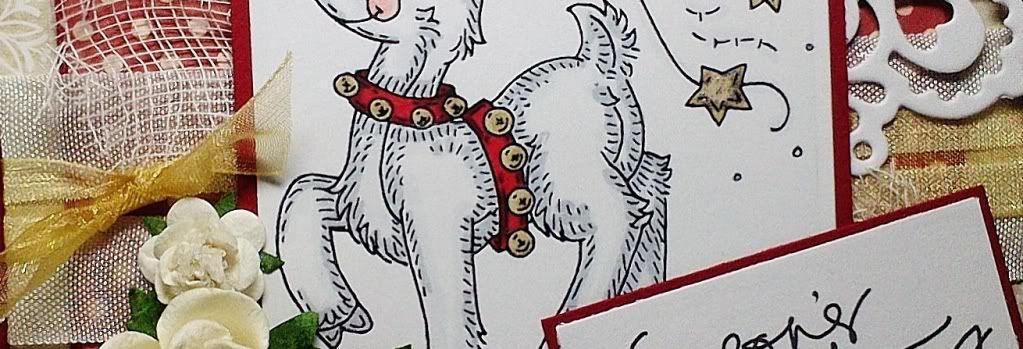
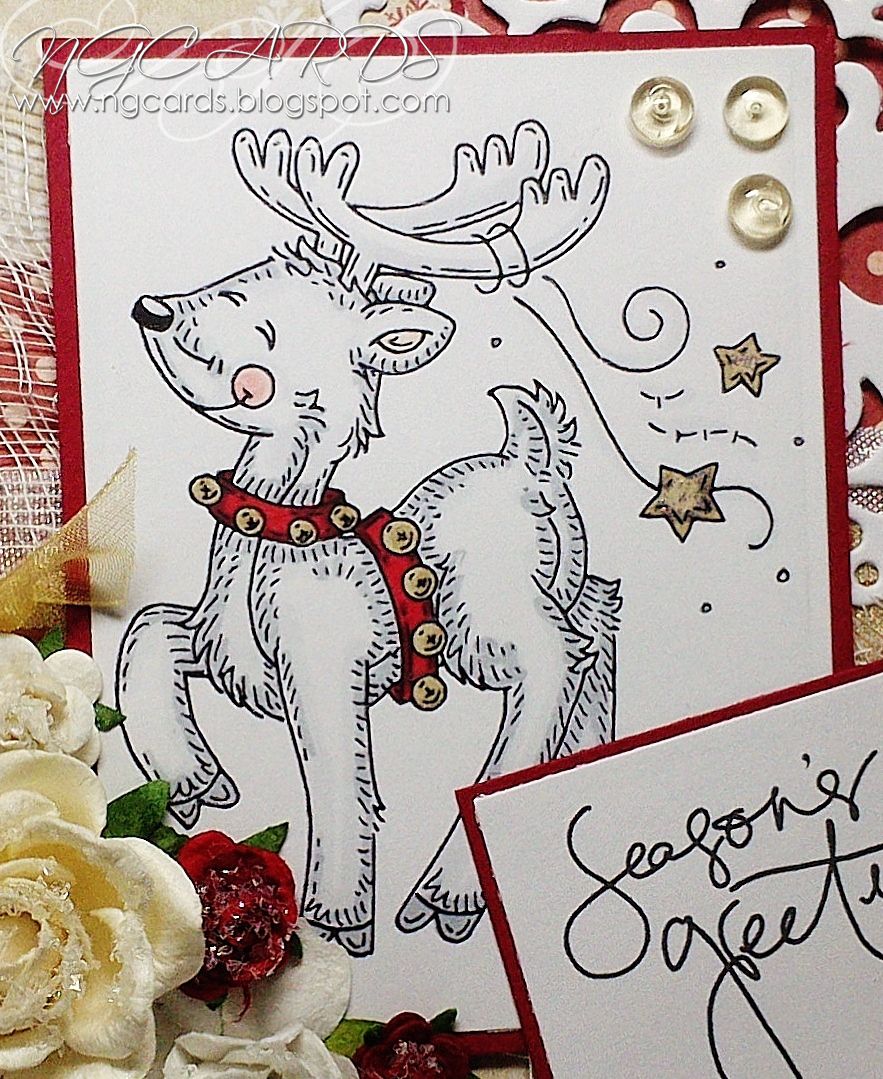
Penny Black Stamp 'from the heart'
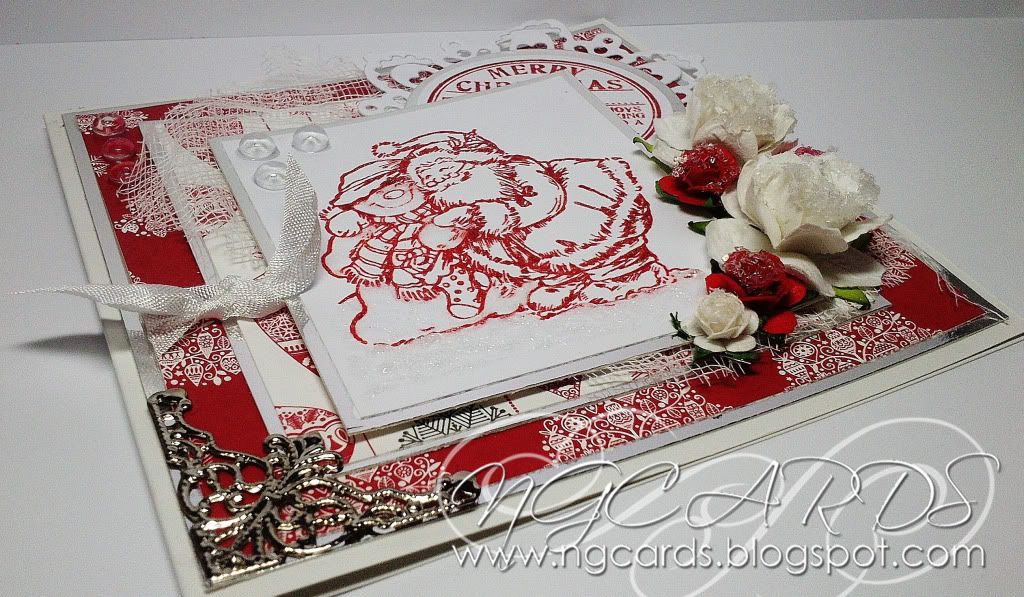
Dovecraft Papers
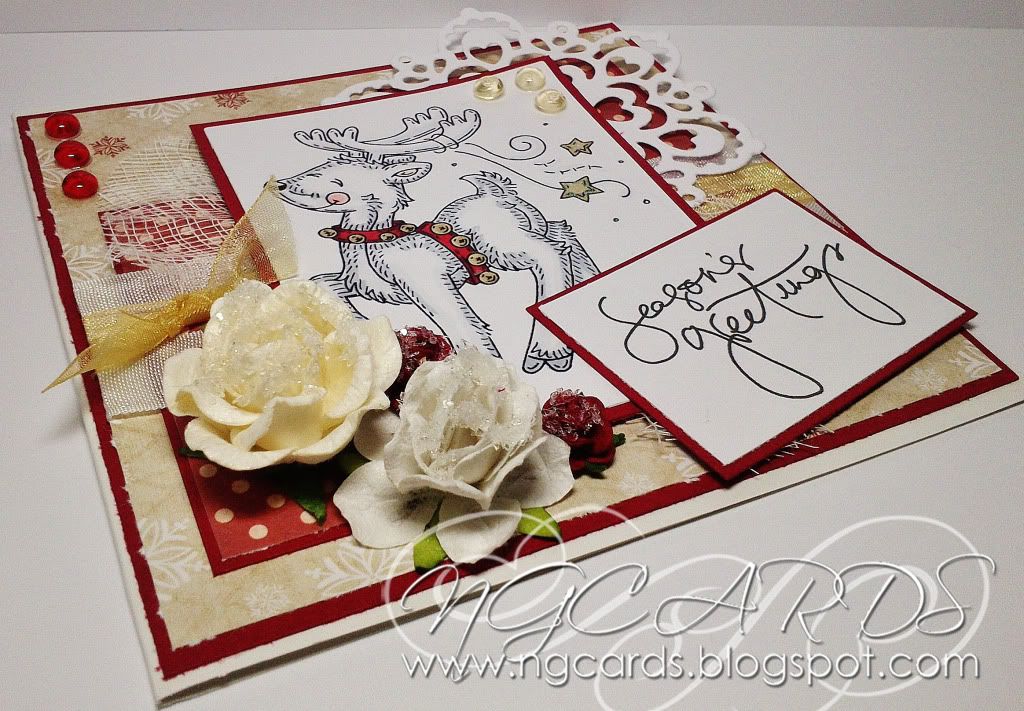
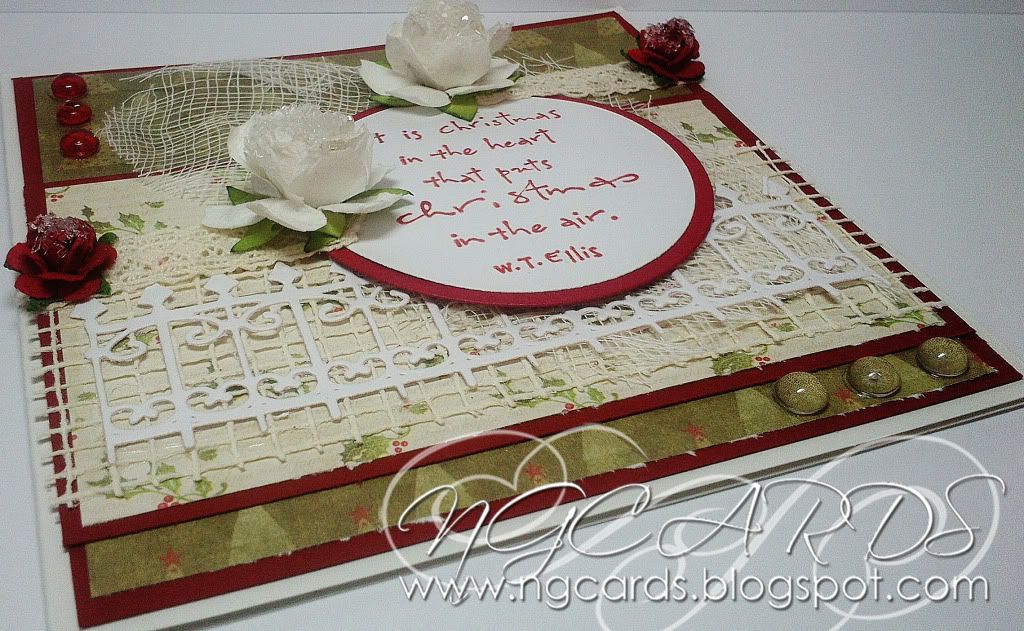
Spellbinder's 'D-Lites' Die 'Wrought Iron Fence'
Flowers
Ranger Glossy Accents
Ivory Mesh, Twinklets GLitter, Dew Drops, Cheesecloth & Lace from my stash
Clear Embossing Powder

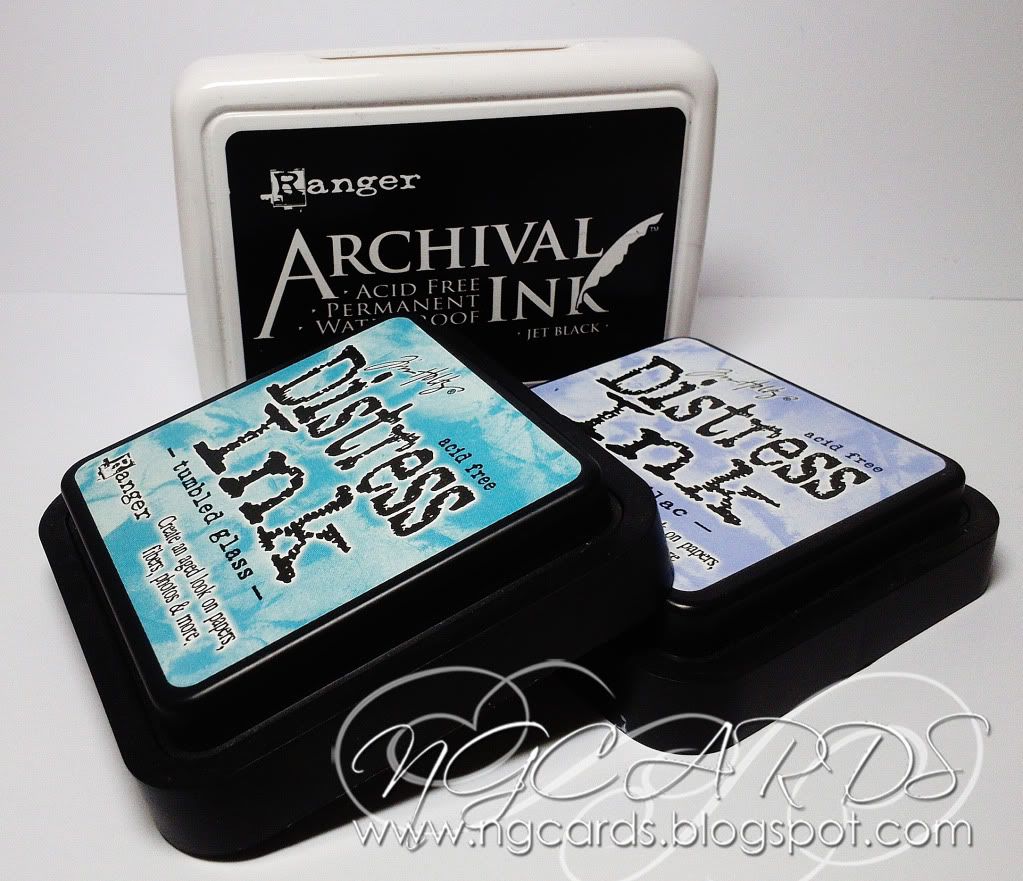
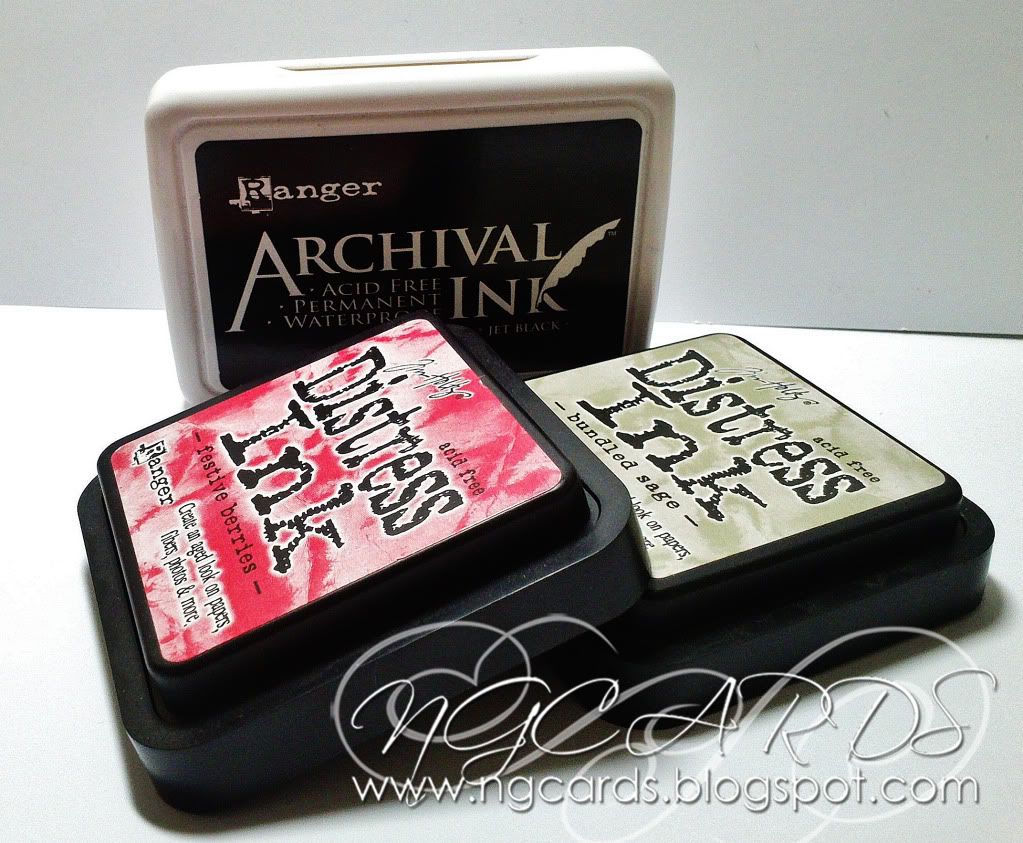
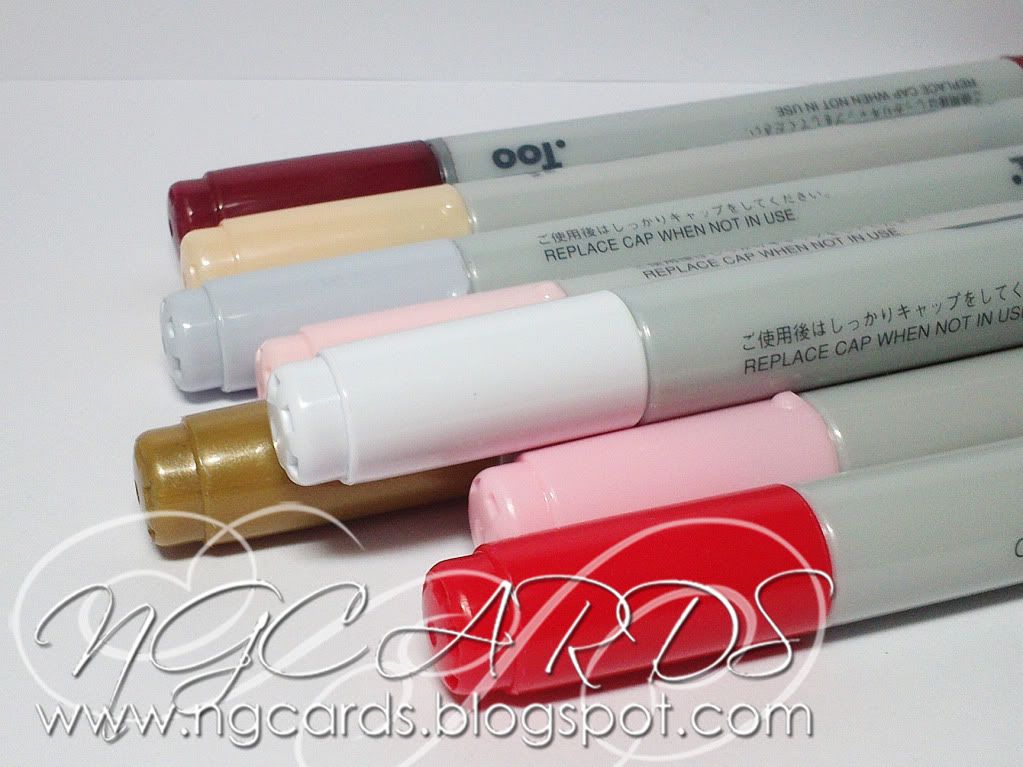
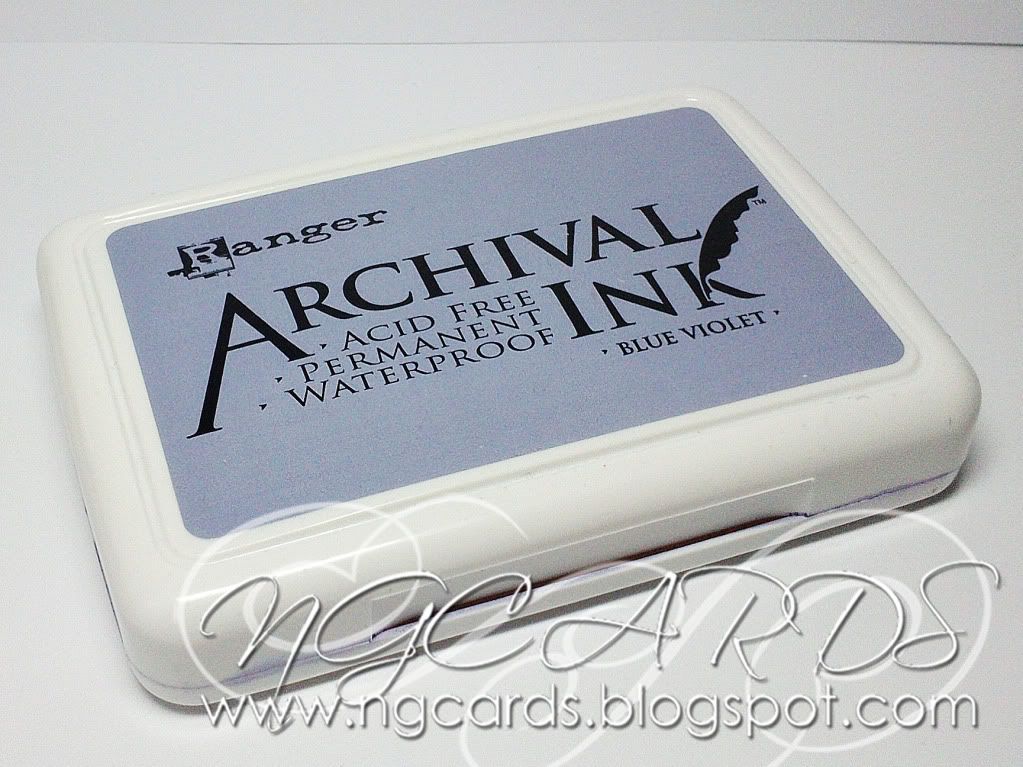
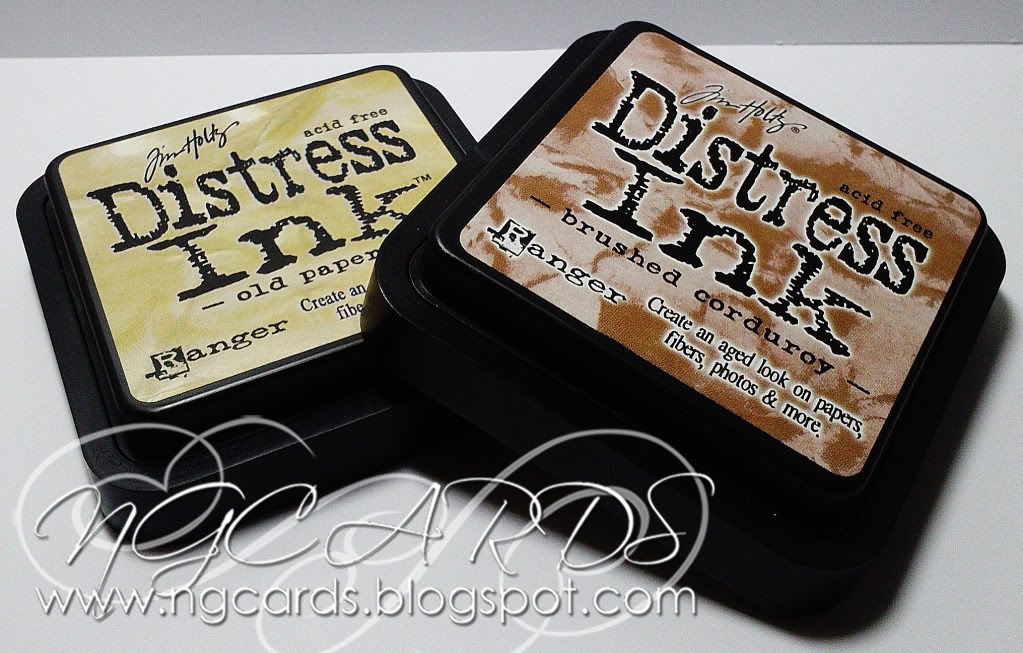
INKS USED -
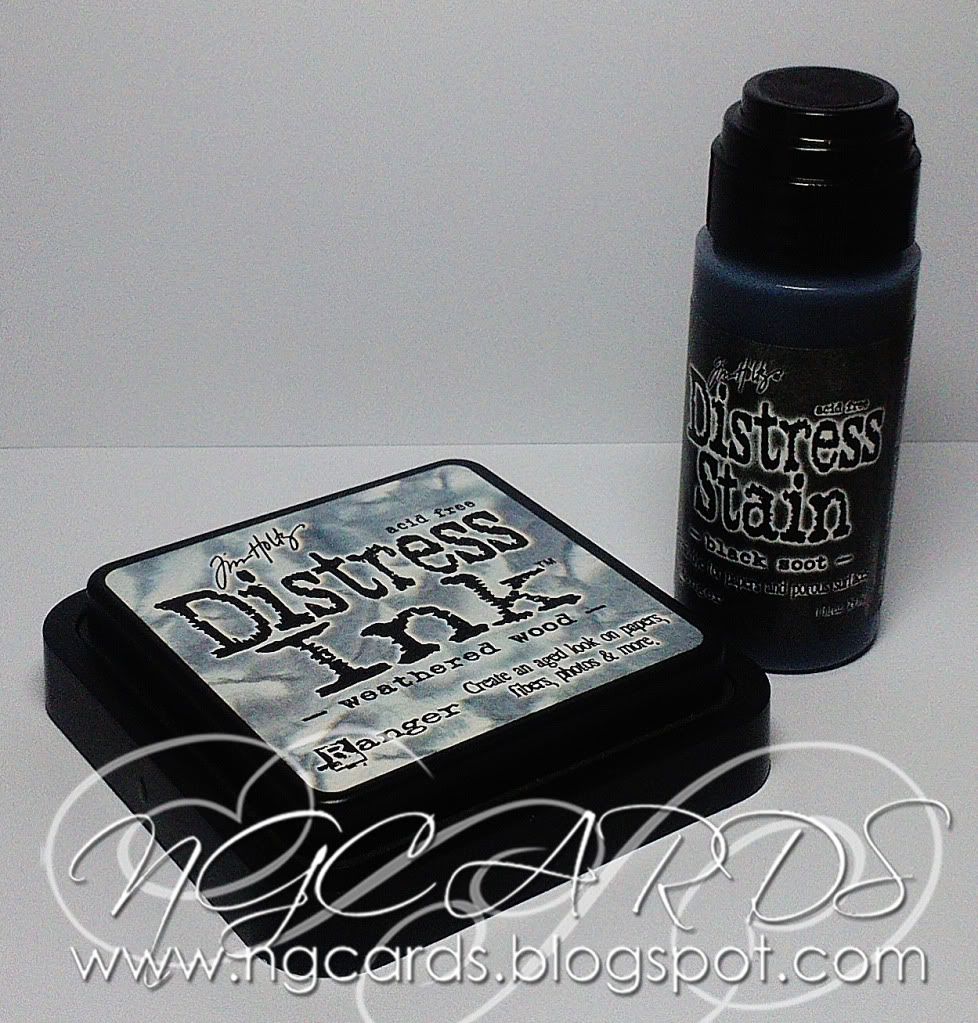
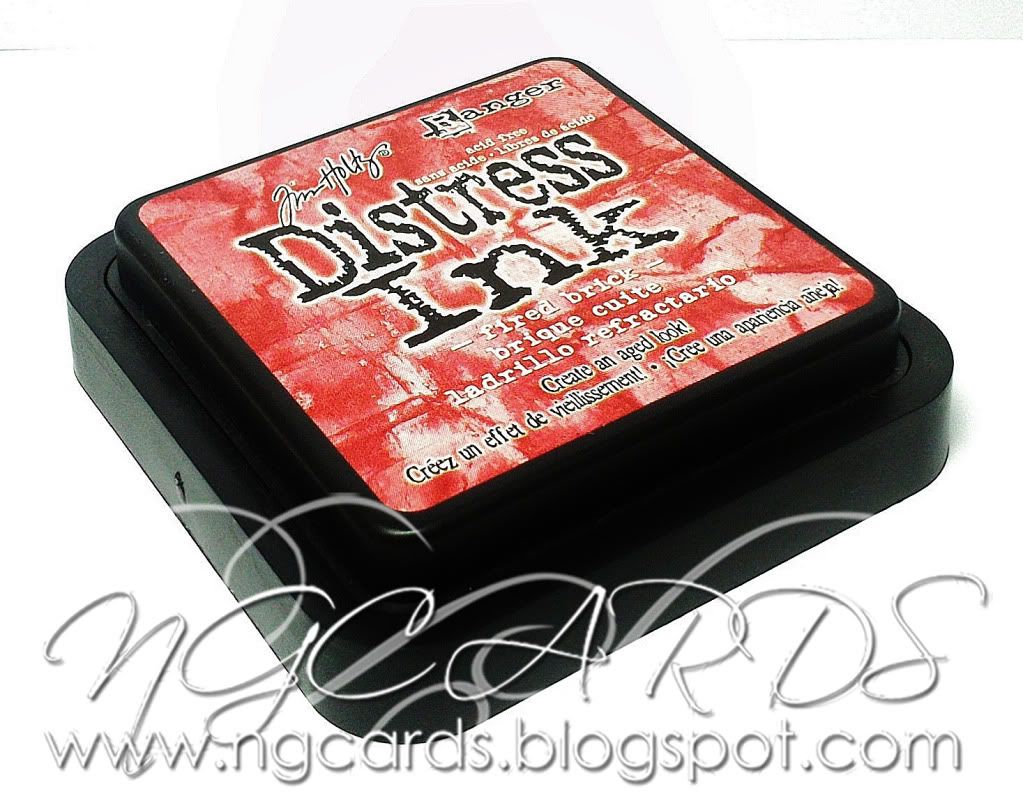
Distress Ink - Fired Brick
HAPPY CRAFTING!
XXX